Monday, February 13, 2012

Hamilton 917 clutch lever spring fabrication

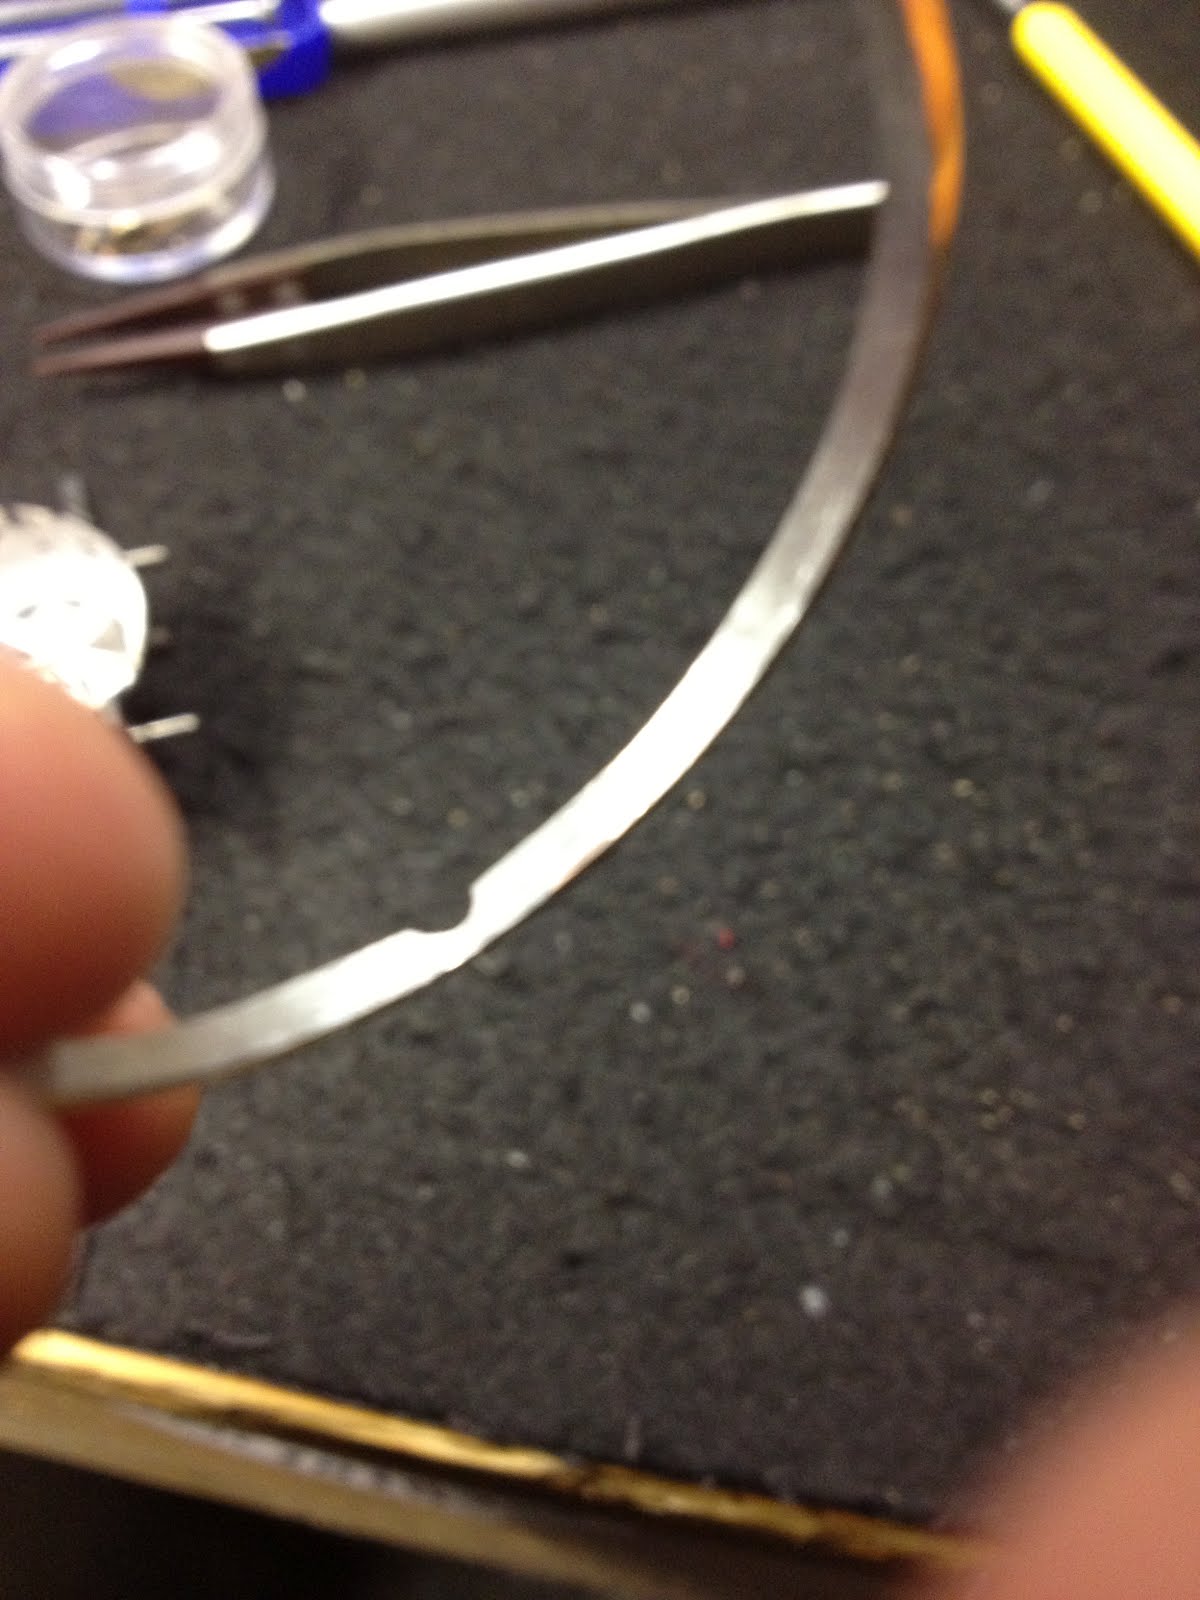
As I was disassembling the Hamilton 917 for the first time, I made the bonehead move of letting the clutch lever spring fly out....f$%k!I looked around to find that no one has the spring available, when asking vendors if a given assortment of springs would have one that would fit but no answer there either as no one can tell me. Well, looks like I am fabricating one.

Looking at the application, I figured that the wire had to be spring steel stock and any old wire simply wouldn't do. To find out what is the ideal material for this, I tried everything I had on hand from twist ties on. The twisty tie stripped easily from the casing and I decided to hammer the wire flat to fit where it needs to go. The problem is that the material work hardens easily and becomes brittle. Iteration two had me heating and quenching the wire to relive the work stress but still too brittle in the end. Next I hammer out a paperclip but with similar results as the twisty tie.

The pics of the hammered piece is for the viewer's benefit of the process and not the actual pieces used (it was 2am and I was sleep deprived) which is why the hammered piece shown is flat the wrong way. The pictures should however server to give the viewer an accurate scale of objects.


To make matters worse, I do not have any tools that would bend the wire evenly and at the ideal circumference and aperture. I measure the post on the dial that the spring wraps around and discover it to be .165mm wide, and the closest thing to the diameter on hand is a screwdriver at .160mm wide which i clamped in my vise and have been wrapping the various materials around. 3am and sleep calls....

The following day with a bit more rest, I re-approach the problem and two things are evidently clear, I don't have the proper tools or the material. Lets take look around the shop again and.....material wise I find a pack of .09 guitar strings and for tools, I went out and bought round nose pliers from AC Moore (http://www.acmoore.com/p-146161-ergo-round-nose-plier-wcutter-5-.aspx)

This time around, the guitar string despite being way thicker than the original spring (the click spring is the same and can compare it to that), but it fits and once shaped properly, is an ideal fit and better action on the clutch than the standard spring! There is a lot more tension on it but totally worth it.


I can finally happily say, suck it hamilton 917 clutch lever spring

Sunday, February 12, 2012

Stripping Hamilton 917 dial-prep for waterslide decal for watch dial face

I have another Hamilton 917 movement that I have been poking at and considering the recent result of my first dial refinish attempt, figure I would continue to discover other methods to reusing an existing dial.


First step is to remove the numbers and to do that, I have sharpened a small screwdriver to a fine point to be able to pry the numbers off gently.


Next I use 0000 steel wool and scrub the dial in a circular motion to minimize cross hatching when taking the print off. Once the dial is stripped of the original, use rouge and a cloth wheel (felt wheel for dremel owners) and buff until gloss but keep in mind that the waterslide decal will need something to grip so I wouldn't recommend going true mirror polish. Keep in mind also with waterslide decals being transparent, if you are using a lighter design, you should take measure to eliminate gouges on the surface previous to the buff stage.


Once I am done polishing to where I need it to be, i hit the surface with my thumb than polish whatever oil that deposited to the polished surface to give it additional grit for the watreslide to adhere to. Dial is now prepped for a waterslide decal, I plan to change the design with this dial to retain the original circular machine marks around the border.

Clear coating the watch dial from a Hamilton 917-refinsihed

I finally had a moment over the weekend to hit Homedepot and pick up some clear finish products. After browsing the area for a few minutes and consider what I had on hand at home, I decided to purchase the following;

Spray on products,

Rust-oleum Specialty Lacquer-Gloss UPC: 020066190682 Model: 1906830 Clear

Rust-olum Crystal Clear Enamel-Gloss UPC: 020066770181 Model: 7701 Clear

Paint-on,

Rust-oleum Painter's Touch Gloss Crystal Clear UPC 020066167097 Model: 242057 Clear

1" Sponge Brush

1" Purdy XL (Nylon/Polyester)

1" Purdy Soie Blanche (Natural hair)


When I bought this stuff, I did not realize that I purchased all Rust-oleum products, I have Krylon clear coats at home and those are the other comparisons from known products used in the past. It is purely coincidental that they are all Rust-oluem products.

I started by cutting out an aluminum sheet large enough to accommodate five waterslide decals of the dial design for five different application of a clear coat. I posted in my earlier post of my criteria that I need out of the clear coat's performance on the watch dial, the five tests against the control which is my actual dial are;

1) Spray Enamel
2) Spray Lacquer
3) Sponge brush applied
4) Natural hair brush applied
5) Artificial hair brush applied


Its hard to tell in the photo what in the end finished well, it was down to the Natural hair brush and the spray enamel, I went with the spray enamel as it coats an even stippling looking effect, which goes to subtly dulls the gloss coating in a very pleasing fashion. The other finishes less than stellar, the sponge creating huge streaks and the nylon brush having fine streaks across, and the spray lacquer having uneven coverage. I think I may try the spray lacquer again but with a different nozzle, looking at the sputter that it sprayed it could be attributed to a bad nozzel or uneven press from the nozzle. It could be user error but when I sprayed it on initially, I depressed fully in an attempt to not affect the outcome of the test. If the new nozzle that I will hope to get around to testing in a later date, it may favor the spray lacquer as it did coat and dry the clearest of them all.


Next I lightly paint the border of the dial where the decal and the dial meet with a thin layer of superglue to reinforce the edge and to prevent peeling up.

I also re-used the original hands, I placed the hands on a vice block from a mill as to have a flat surface and took some of the plating off with 0000 steel wool but only applied the effect to the minute and hour hand. I decided to leave the second hand alone to have a contrast in the sub-dial.


Awaiting on a Unitas 6497/8 stem to arrive so that I can get to fitting it for the watch case.

Friday, February 10, 2012

Refinishing Hamilton 917 dial

So I finally got some pictures going, here is the Hamilton 917 that I have been working on in it's original condition when I received it, you can see the badly painted on mush of a sacred heart that I was describing in an earlier post;


I used a fine tipped small screw driver, sharpened to an uber fine point and I was able to pry off the numbers from the dial with relative ease. I then used 0000 steel wool to take the original graphic off of the dial. Once it was removed, dremel with a buffing wheel and a whole lot of rouge to get it up to a high gloss polish. Pic below is before the polishing step.


In the interim of the dial polishing, I mock up the dial in Autodesk 123D, which if you do not have a CAD program yet, is free and very awesome. Once I get the dial sized, I export and load vector to photoshop and there, I create the dial face design. I scan the cleaned up dial and change the transparency on the photoshop design so that I can see through to where everything will line up once printed. After several minute changes later and satisfied with the design, I print out the dial design on normal paper first to see how it all lines up....everything looks awesome! I switch out the printer paper to laser printer version of a Waterslide decal paper and print a whole bunch of the same dial design repeated since every time I print, it typically streaks because of the slick surface the the Waterslide decal paper and have to salvage the best examples within a printed sheet.

You can see in the pic of the sheet I printed, I would say that I lost 60% of the printed dials but that's OK, they will be used foe testing later,


Before moving on to placing it on the dial, use a hole punch and create the hand holes now, the material is so thin that it is rather difficult to cut it after the fact. Now to place it on the dial! I use my pin vise to hold the dial since it has feet; speaking of pin vise, another awesome tool to have; get it cheap at Harbor Freight (http://www.harborfreight.com/universal-work-holder-65007.html). I had to immerse the Waterslide for around 30 seconds at this size to slip from the backing paper and using #1 tweezers, I carefully slide it on to the dial, than place it so that the sub-dial in the design matches up correctly to the sub-dial it's self.


Remember those smudged ones that I can't really use? I will be using them next to compile data since no source I can find has any empirical knowledge regarding various lacquer composition against the Waterslide decal printed on a laser printed, affixed to a mixed allow plate. I will duplicate the dial with a sheet of various alloys and place the Waterslide decal on, than use various lacquers applied in various ways (aerosol, natural hair brush, artificial hair brush, sponge brush, other misc brush) and collect the following data

1) opacity
2) how smooth a given method applies the lacquer
3) does it yellow and under what conditions, and how long

Be back on another post and thanks for reading

Wednesday, February 8, 2012

Now for the dial

So the dial on the 917 isn't anything spectacular, specially when a previous owner badly painted what I think was meant to be a sacred heart on it...yes it looks like a can of mashed a-holes.

I do realize I do need to take more pictures, as in starting and I will, but deal with the text for now.

The dial was easily cleaned up using 0000 steel wool and as for the numbers, extremely easy to pry off with a small flat head screwdriver sharpened to a fine and flat point. Now that the dial has been cleaned, I need to figure out how to refurbish the dial. One idea is to use waterslide decals, another to screen print, and another to press/engrave the dial.

what to do......

Tuesday, February 7, 2012

So I took apart my Hamilton 917 for the first time

Last night I decided to say f it and make some necessary tools to get started on the Hamilton 917 disassembly. First lets start with some tools that I am still awaiting on arriving from various points in the world thanks to ebay as well as Amazon;

Dumont #1
Aven Tweezer set
watch hand puller

***Update 2/13/2012
The person that were selling the Dumont tweezers on ebay turns out are out of stock, and the Aven set on amazon is also out of stock.....poop. I decided to order another alternates I had picked out, Erem SA series #1 (http://www.amazon.com/gp/product/B004UN8IXO/ref=oh_o04_s00_i01_details) and Erop series #3 (http://www.amazon.com/gp/product/B004UN9QPS/ref=oh_o04_s00_i00_details) for comparison. Both tweezers appear in a pic in a later post and between the two, I have decided after suing both extensively that the SA series is not only worth it but a worthy replacement to the Dumont tweezers as well. Great feel on the action and a very fine and even tip on sub $20 tweezers, buy your self a pair of Erem SA series.

***Update 2 2/13/2012
I received one of the two watch hand pullers that I won on ebay for a whole dollar, the shipping cost more and there is a distinct reason why; they work about as well as a dollar object could reasonably expected to. Still waiting on the other watch puller style to see if they are any better.

I still have some other miscellaneous things that I am waiting for but those things are either raw material or gear for maintaining tools like pithwood.

First order of business, watch hand pullers. I decided to make pry bar style watch hand pullers out of small diameter brass rod. I began by hammer the point flat with a hammer and flat punch and than file the flat until it can get under the hour hand on the hamilton. next I had to file further until I could get under the second hand and the watch hands are off.

I resolved my tweezer issue by filing down an existing Heco carbon fiber tip tweezers that I use on electronics. they are older so I didn't feel too terribly bad about filing down such nice tweezers but.....it got the job done.

once the hands were off, I loosen the very small screws around the circumference of the watch movement to remove the dial, which came off with ease. I now see what lies below the dial in person for the first time and I take a moment to appreciate the old school craftsmanship: some one took some time to jewel a surface that no one except watchmakers will ever see, and these days people like myself and the internet.

I carry on with the disassembly and during the process, i came across a couple of SNAFUs;

1) when removing the second bridge (?) piece, do not remove the blued screw next to the case screw as that is what holds the set lever in place, and that set lever is under enough tension to make it go flying

2) the winding gears, the small one to be precise is the one that has a screw with reversed threads so as not to come unscrewed under normal watch operation.

The watch in pieces, I move on to modifying the base plate by removing the lip and also the wrist watch case internal spacer ring to fit around the movement.


I ordered proper tweezers this morning from another source and cancelled my existing order as it has not shipped yet, I had some difficulties with the disassembly with the makeshift tweezers, would rather wait on the correct ones before proceeding.

Thursday, February 2, 2012

Awaiting tools

I won my second 917 as planned and have received a few more tools in the mail but I am still missing some important tools before tackling the watch disassembly, namely watch hand pullers. Another kink in the works is the Spring Festival happening in China right now, where a majority of the eBay purchases originate from, I hope to see them at the latest the end of Feb, hoping that the tools that would be nice to have but not needed are the ones delayed the most.